“Print manager” is a standalone application to print inventor drawings. It also has inventor addin which enables the Print Manager launching from Inventor UI. The application automates the process of printing multiple inventor drawing files.
Once configured for printers and paper sizes, it needs few steps to print large set of different drawings. It can be configured to map sheet sizes to various print paper sizes on difference printers.
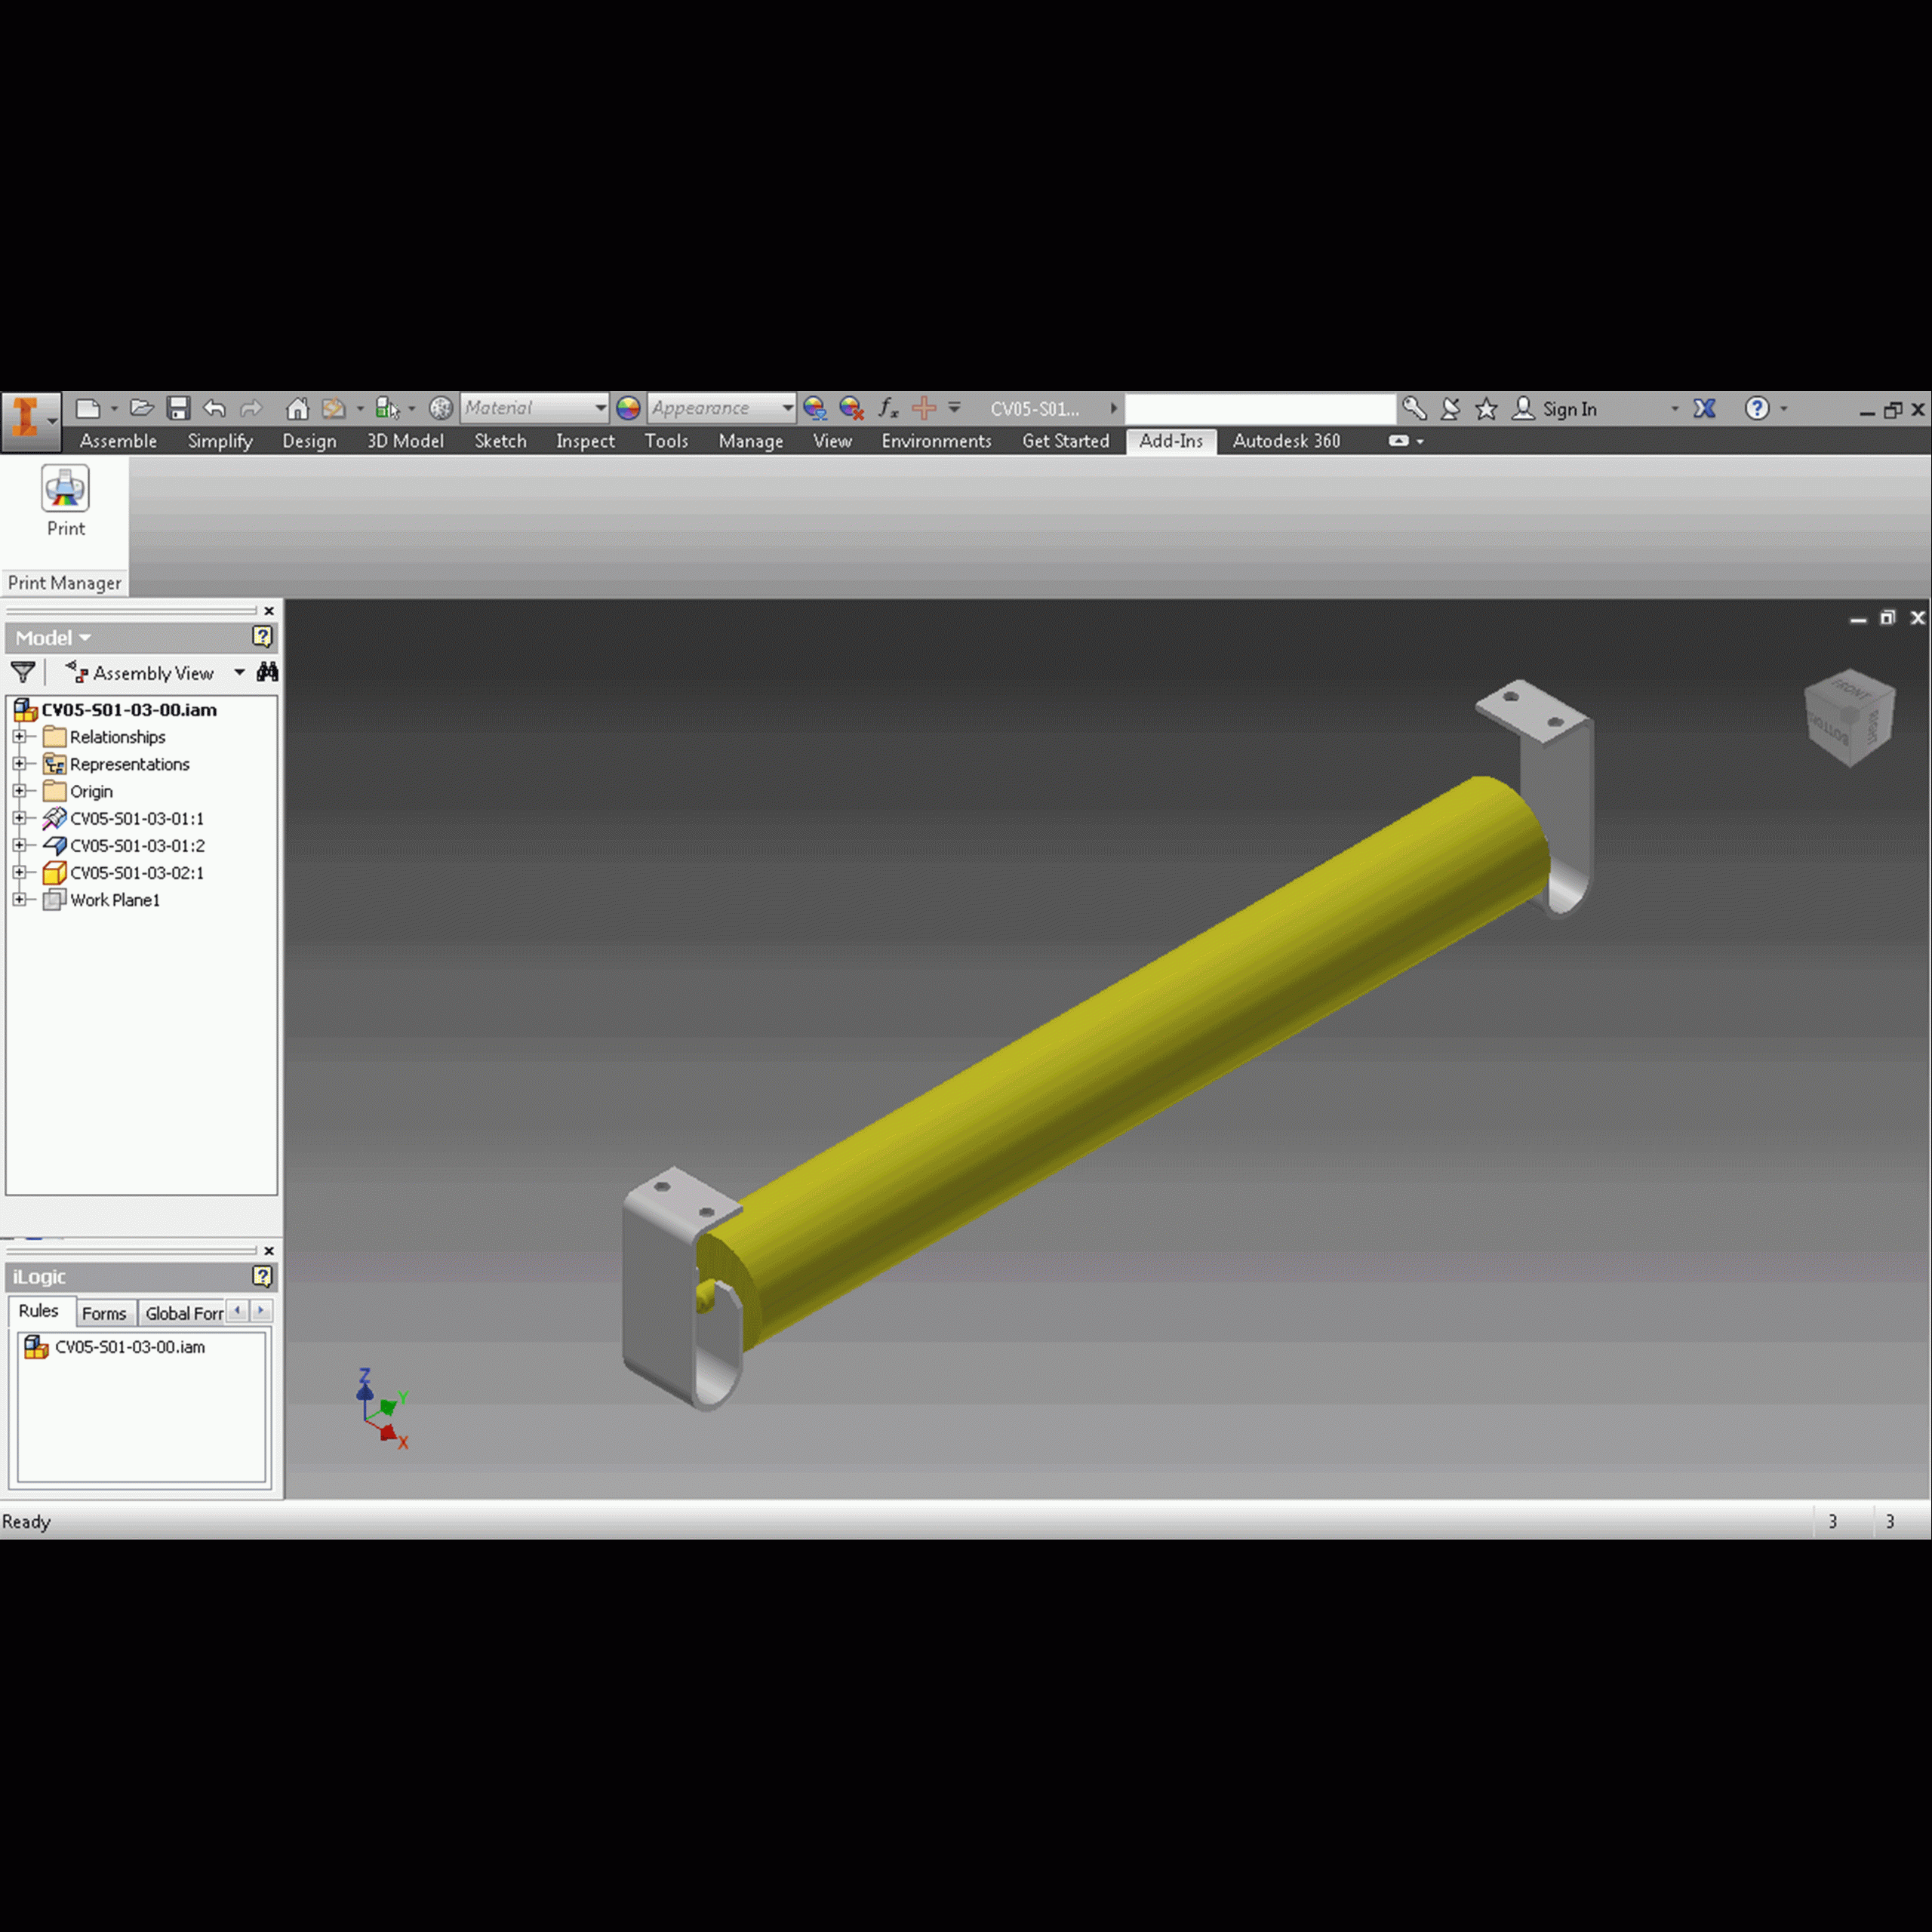
The Print Manager can be Launched from the inventor UI. Print Manager can also be launched from the desktop shortcut and programs menu.

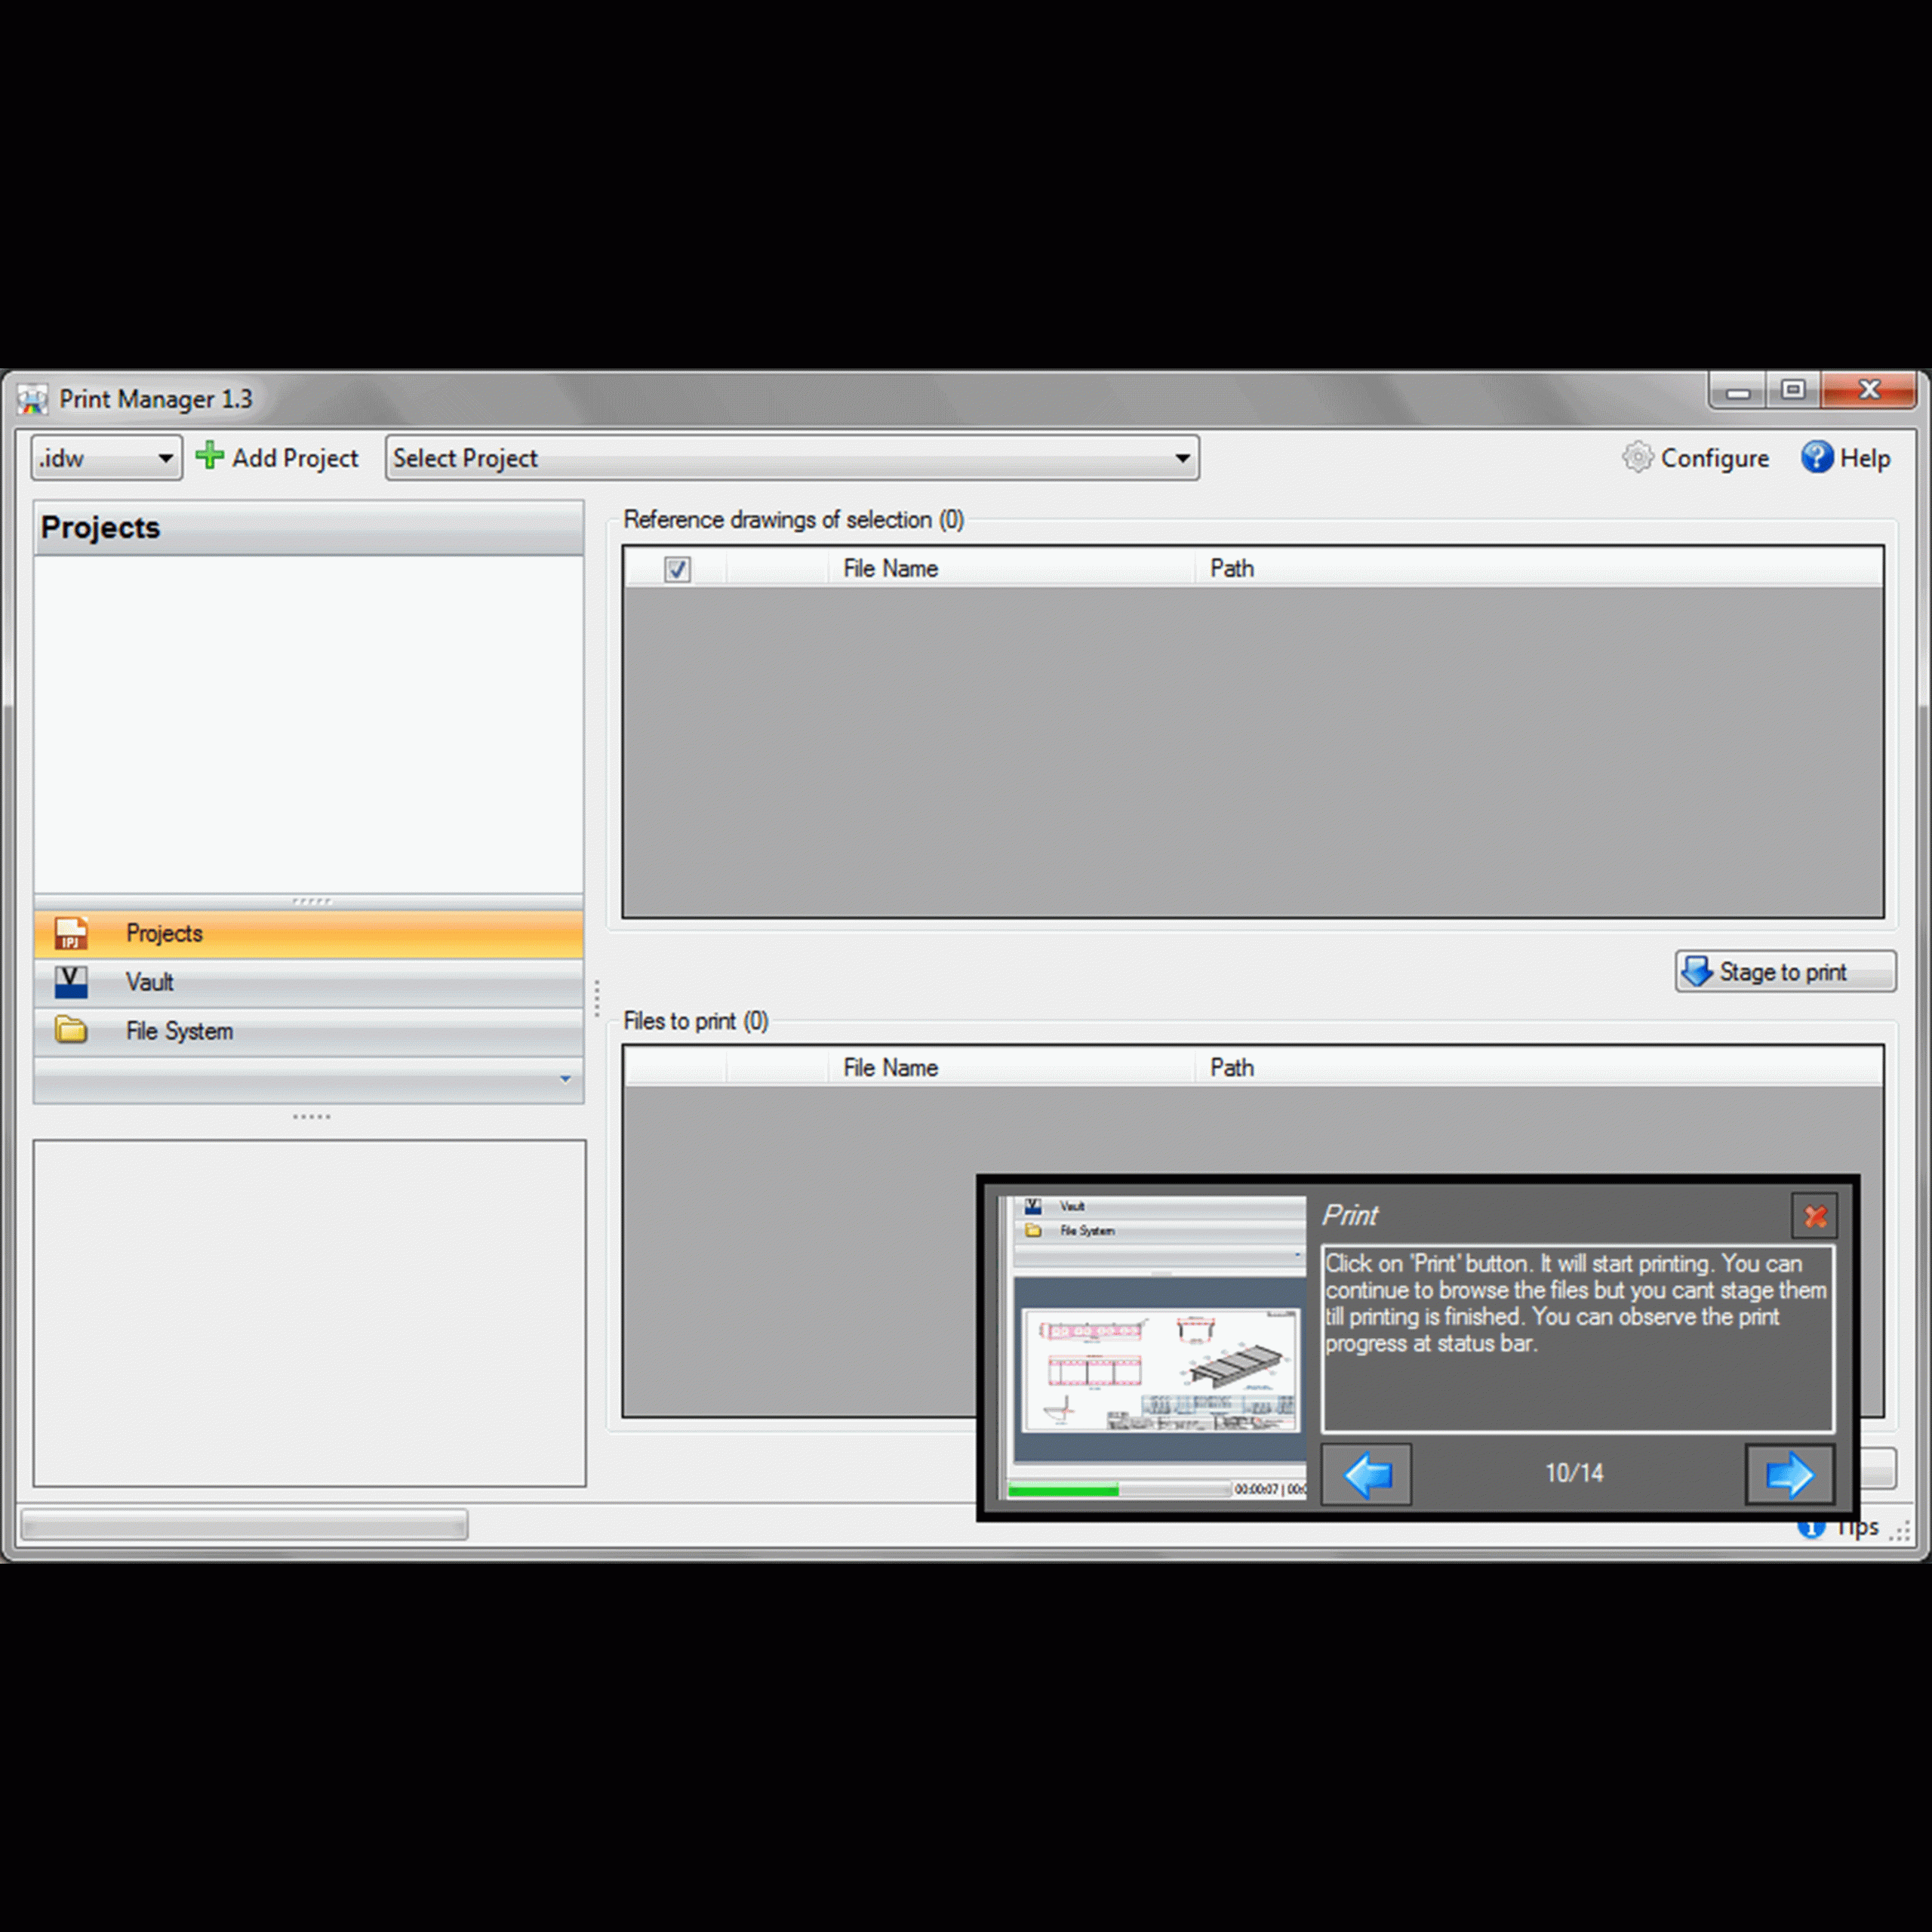
Open an Assembly/Part/Drawing fileGo to Add-Ins > Print Manager > PrintCurrently open document in the Inventor application will be populated and selected in the Print Manager. The current active project will be used to search referenced documents. By default the Print Manager will open in “Project mode”. If the current document is not part of active project, it will open “File system mode”.
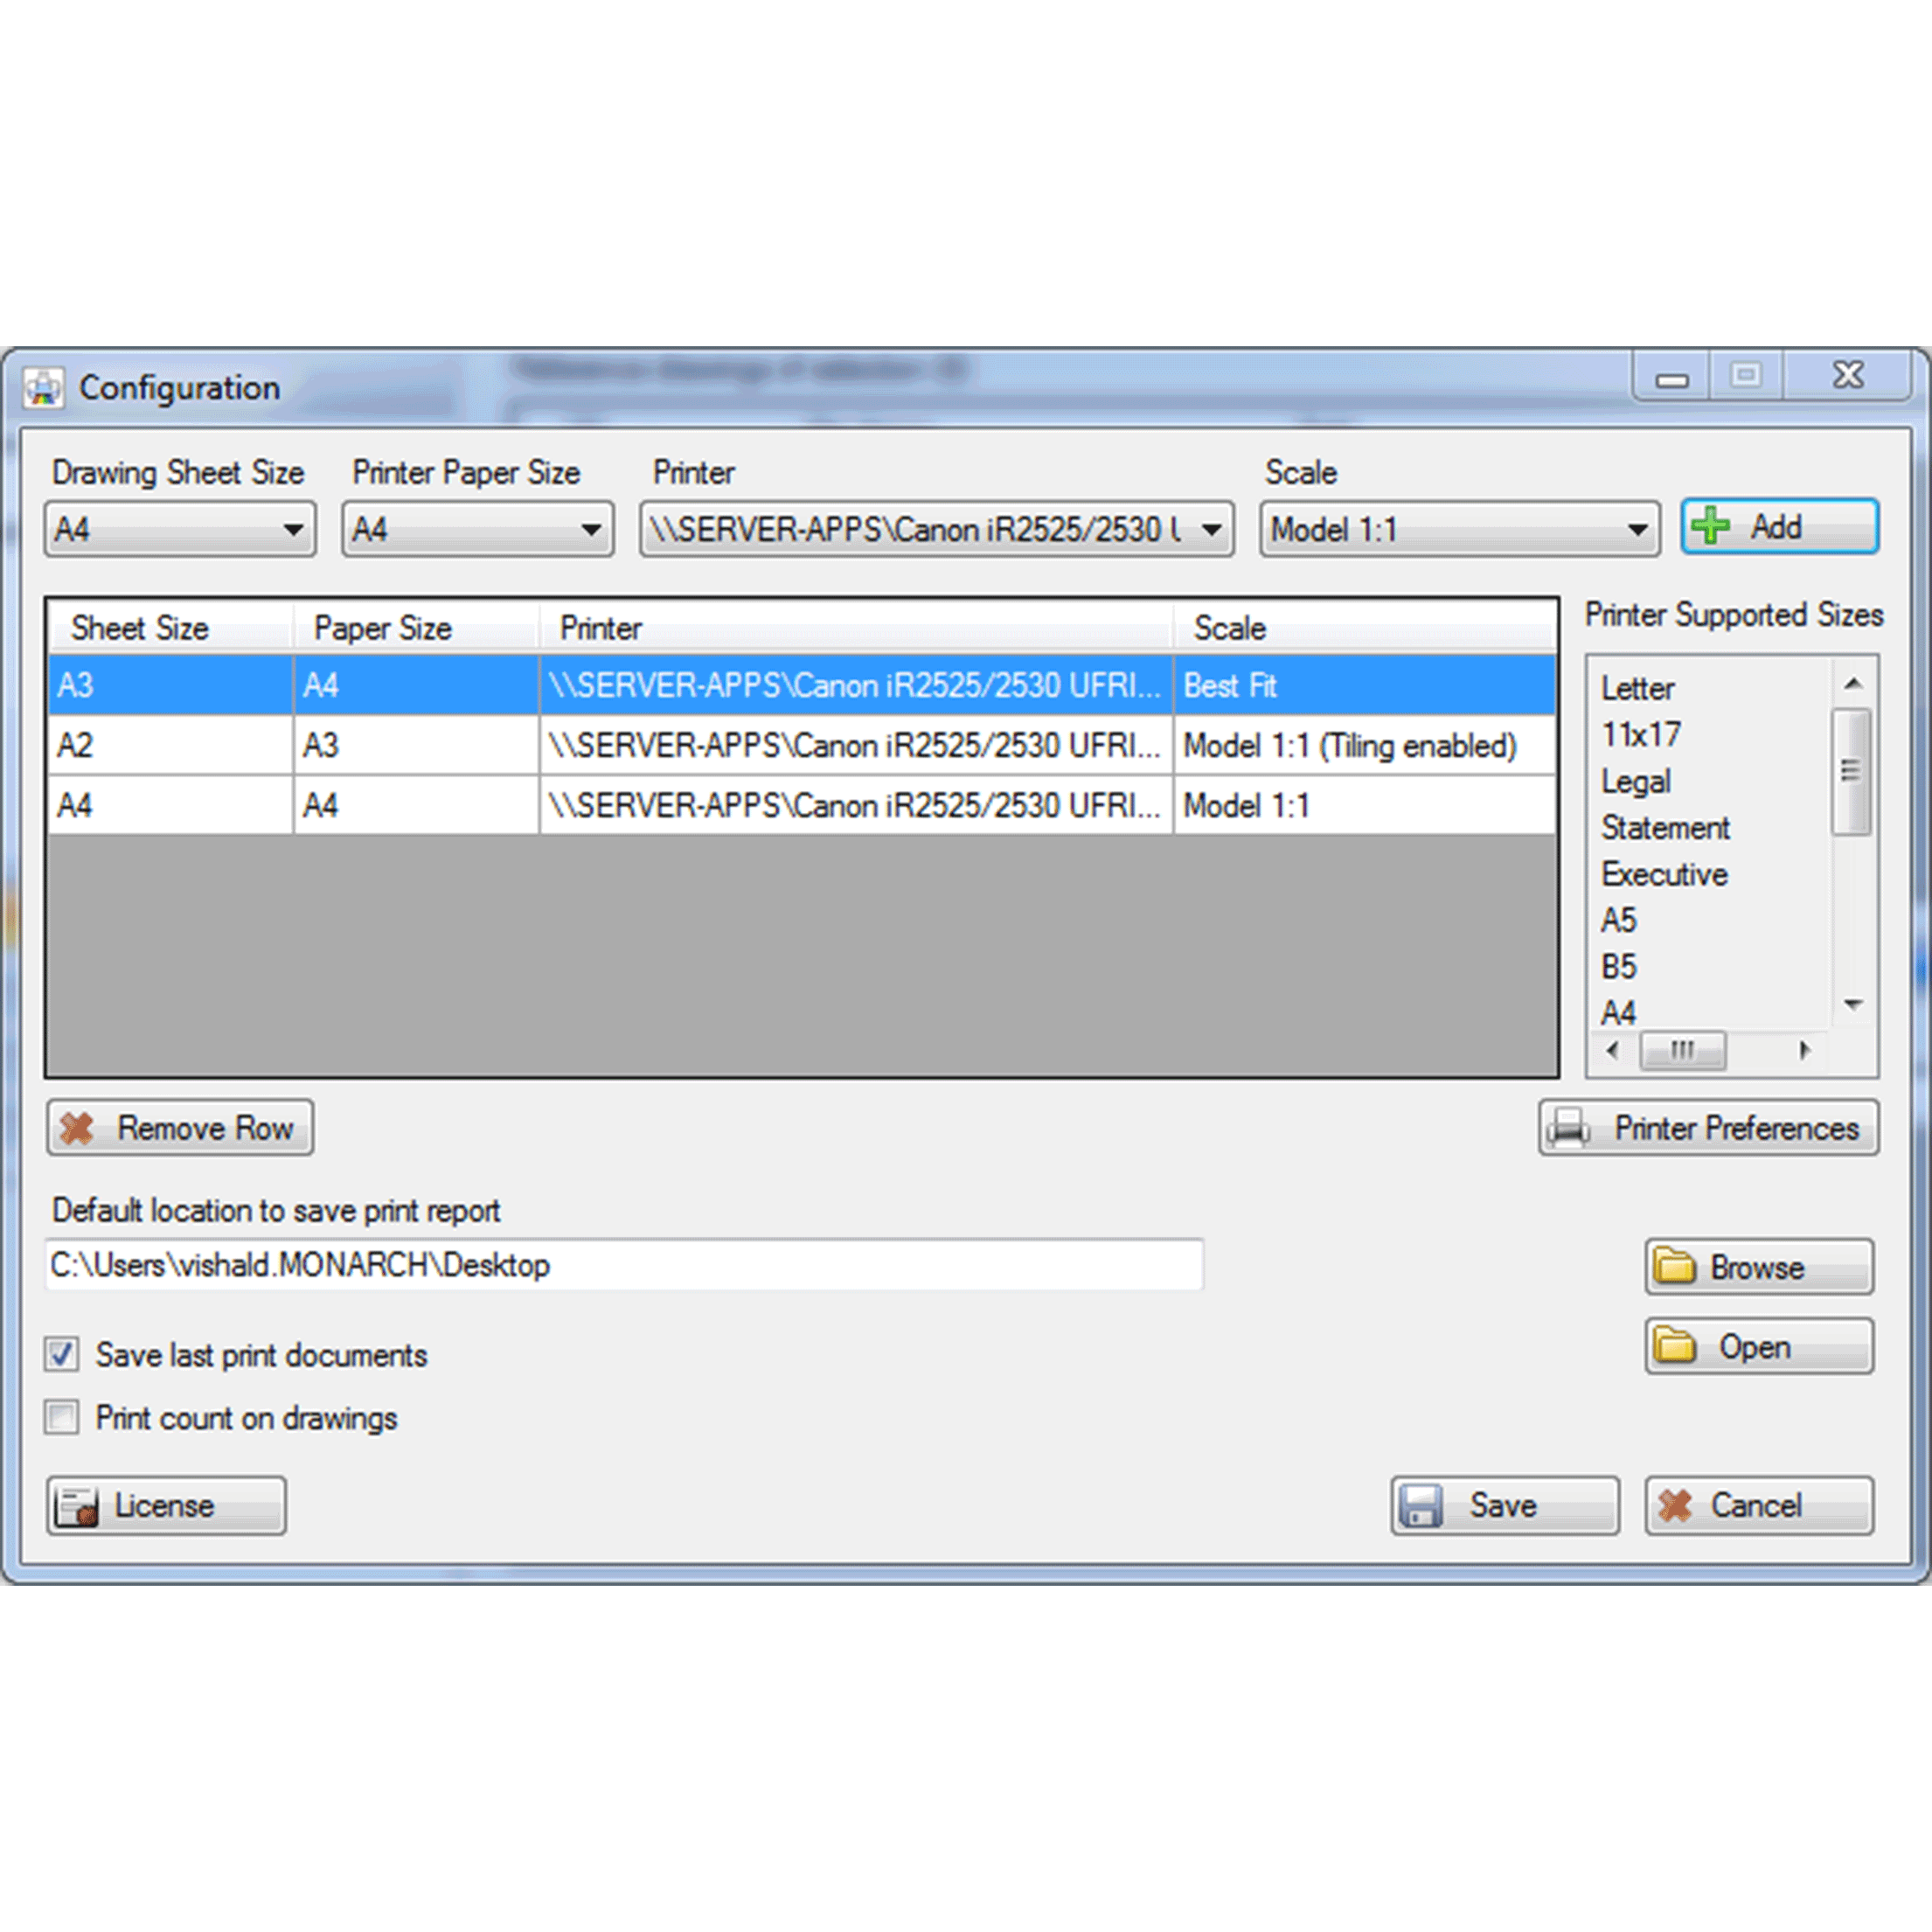
User can configure the application using “Configure” button on main window.
In configuration window, user can map the drawing sheet size with the printer size and printer. The selected sheet will print to the specified printer in specified paper.
The list “Printer Supported sizes” is for reference purpose. It lists all the supported paper sizes for selected printer. User can refer to this list before selecting the printer paper size. In case of invalid paper size selection, the printer will give the error
“Printer Preferences” button will launch configuration dialog of the printer. It can be used to change to edit the global settings of the printer
User can also configure the default location to save the print report.
User can also specify the option whether they want to save the last print documents. If it is selected, the print area will be populated on next launch of the application
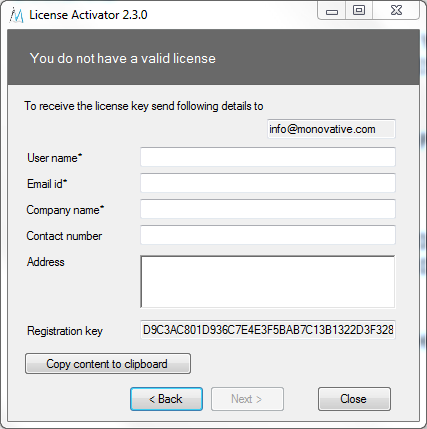
User can manage the license from the “License” button
User can also select an option “Skip” in the list of printer paper size. This sheet size will not be printed.
In case user does not configure the sheet size, and goes ahead with print, the application will display the dialog for sheet size. User can configure the size in the dialog as displayed in following figure.

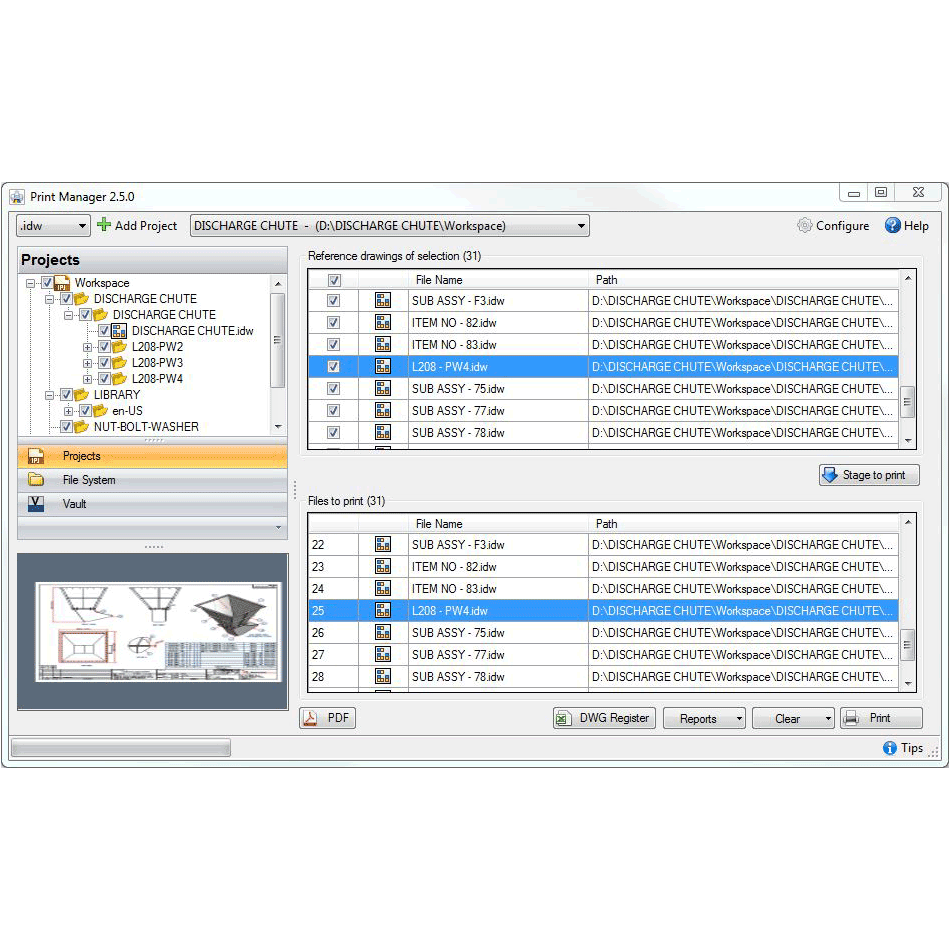
Checking the tree node checkbox will populate the reference drawings table. If folder is selected, all its children will be populated in table. On selection of single idw file, the file will be added in table. In case of part file selection, corresponding drawing will be added to table. In case of assembly selection, all the referenced documents of assembly will be fetched. And the corresponding drawing files of these referenced documents will be added to the table.
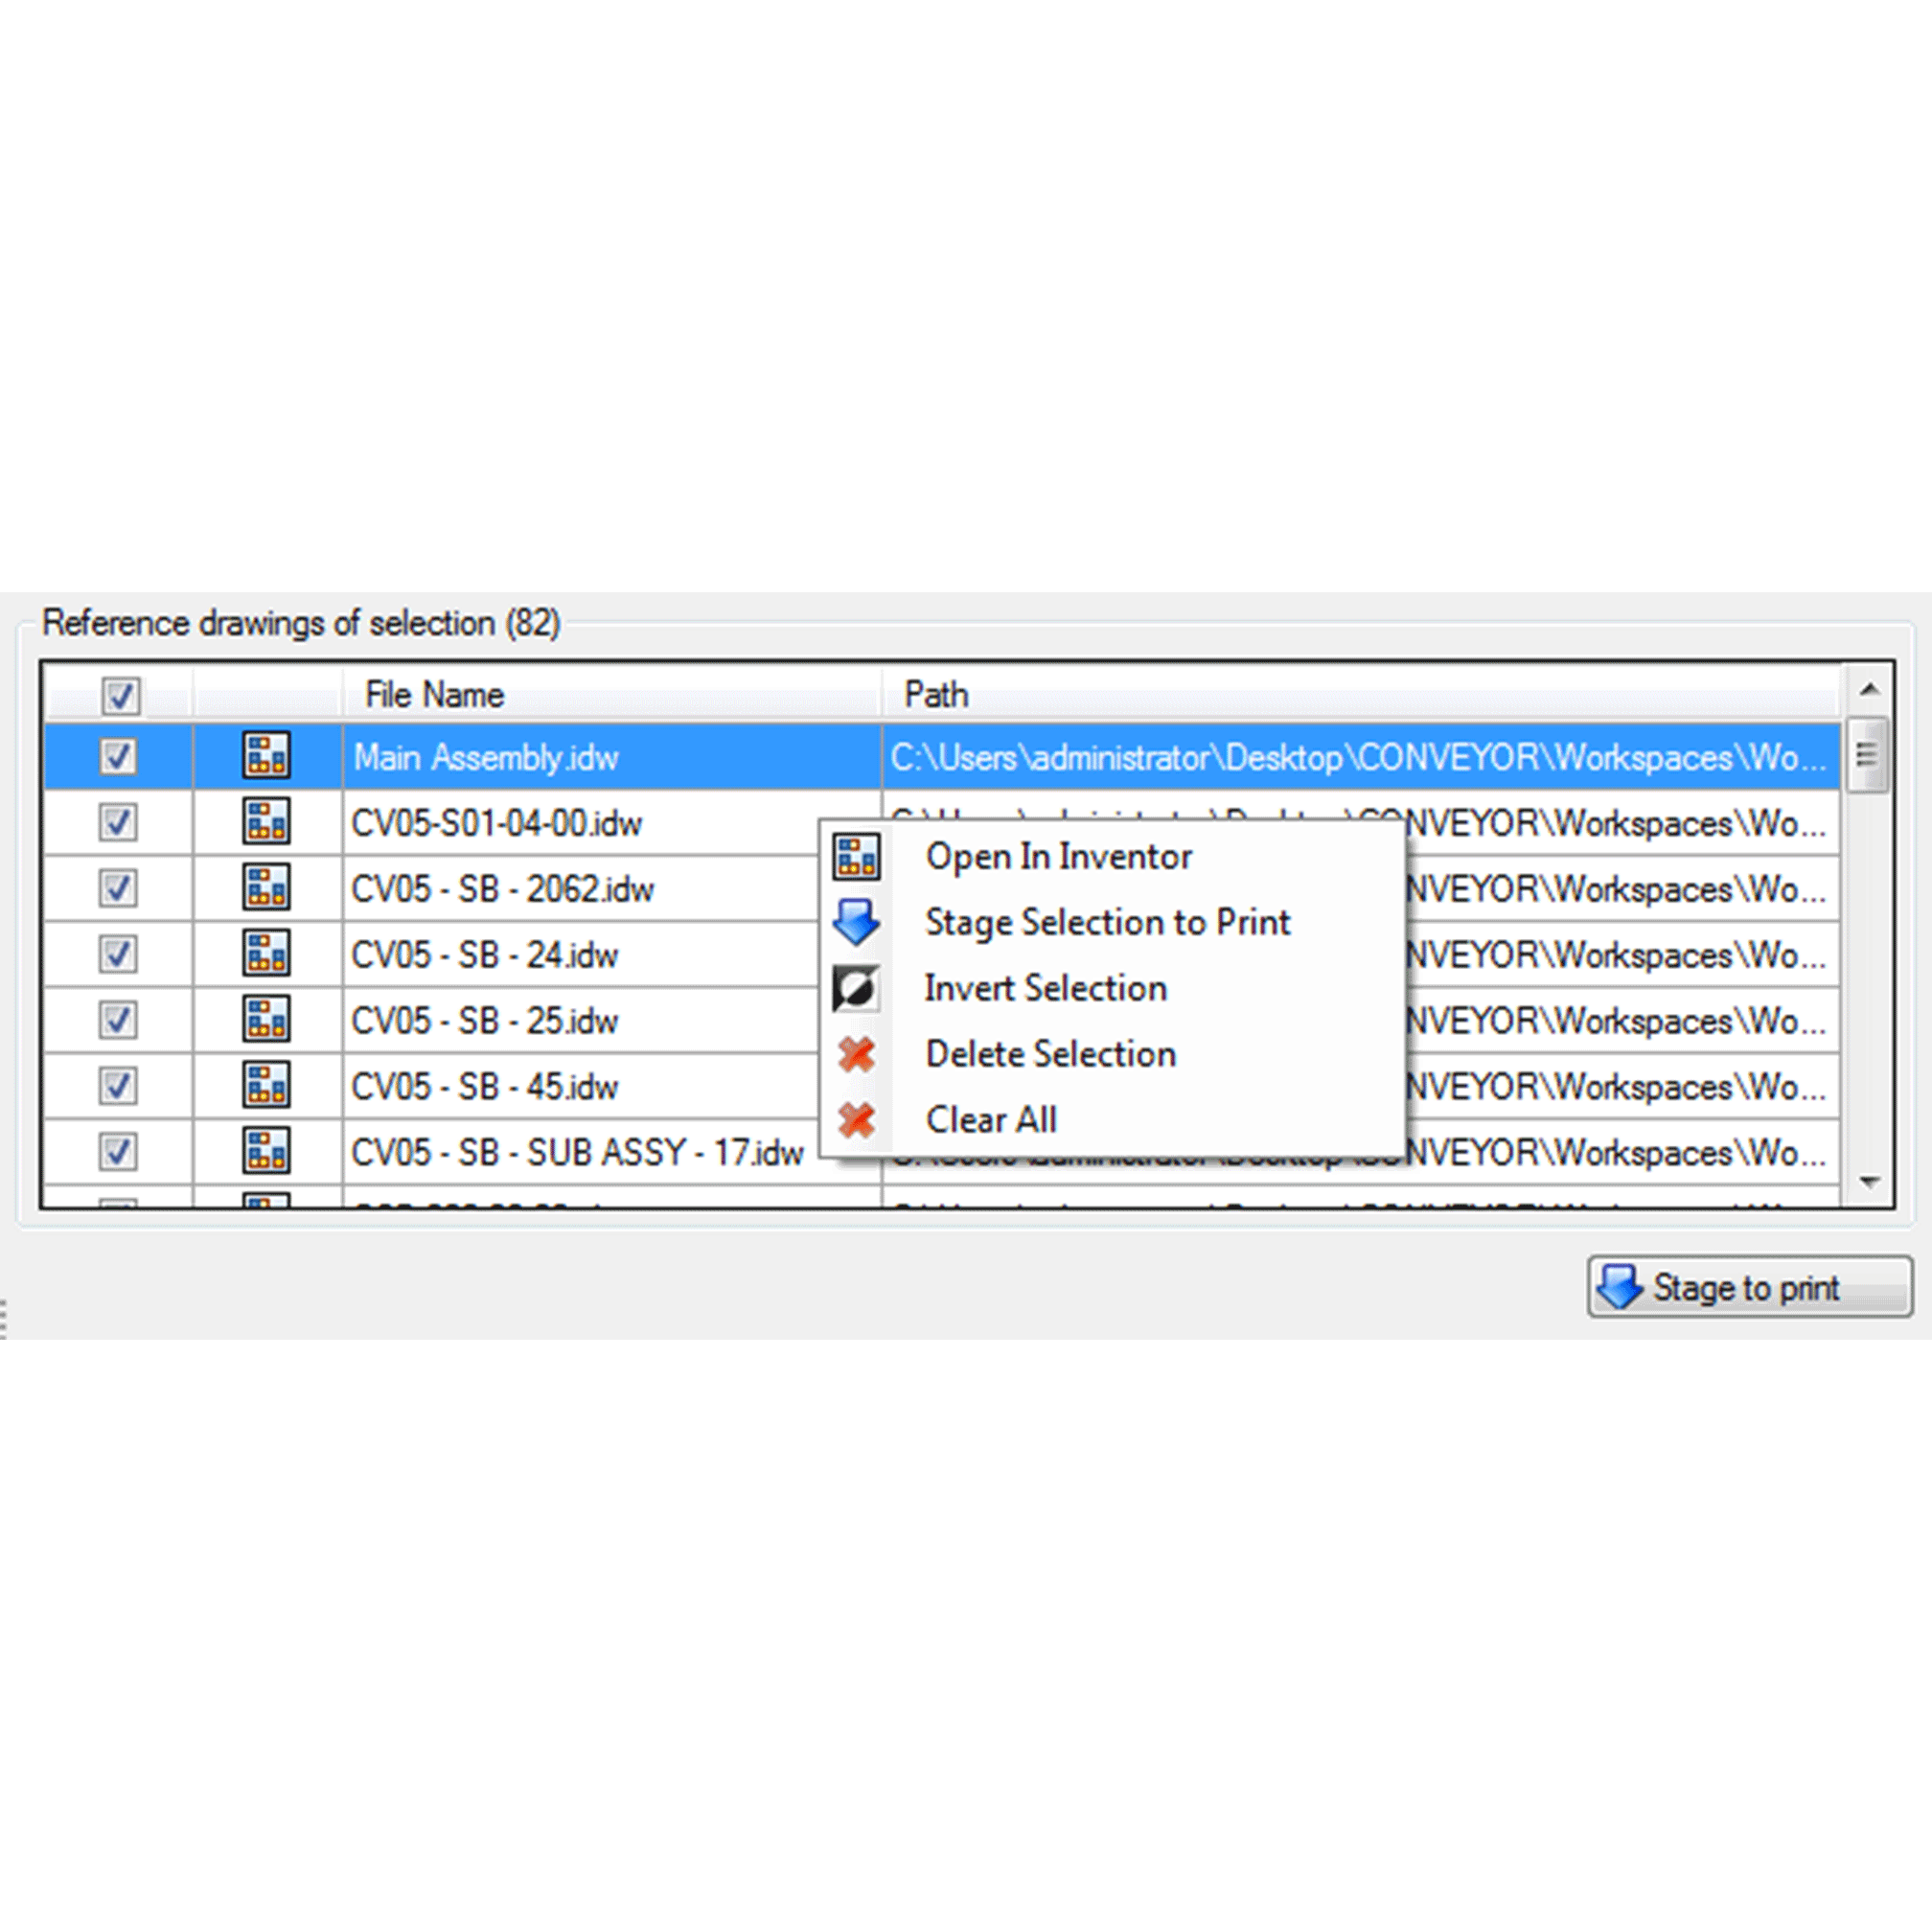
Once selection is done, user can check or uncheck the files in table. Then the files can be staged to Print area. This can be done by context menu also. Only files in print area will be printed.
Selecting any file in any table or tree, will display the thumbnail of the file.
Double click on any file will open the file in inventor.
User can click “Print” button to start printing. Printing progress can be tracked in status bar

User can also export/import the report for documents listed in print area. The exported print report will contain all the details of printed documents. It will also include all the sheets of document and its size and printer. Report also contains hyperlink of the file path, clicking on which will open the document in inventor. If user wants similar files to print next time, they need not select them again. User can import the saved report and print it again.



 Open an Assembly/Part/Drawing fileGo to Add-Ins > Print Manager > PrintCurrently open document in the Inventor application will be populated and selected in the Print Manager. The current active project will be used to search referenced documents. By default the Print Manager will open in “Project mode”. If the current document is not part of active project, it will open “File system mode”.





Reviews
There are no reviews yet.